

The subject of touching up is always a bit controversial even when, as here, I am referring to prints rather than people. It is something my students tend to discuss between themselves in whispers as though expecting me to descend on them with a cane if I were to catch them at it. Far from it: I do it myself.
There are plenty of purists out there who apply rules to the making of art and craft. Some of those are quite rightly maintaining guilds and official standards – botanical painting springs to mind. Others just want to keep things ‘proper’. The latter always make me want to be as improper as possible. I had a meltdown in a marquee once when some ladies told me that I ‘couldn’t’ spin wool the way I had learned in a croft on Islay (and how proper an apprenticeship is that?) because it wasn’t the way they did it. I may be doing it wrong, but my jumpers seem to work OK…
In the small world of my studio, I believe that as long as whatever you do doesn’t affect the archival integrity of the work, then it’s all fair game. To that end I blot off marks, correct coverage by painting with the pad of my fingertips, touch up with brushes (sadly this latter is almost impossible with Japanese woodblock and, interestingly, vitreous enamel. Both being too sensitive to hide that sort of correction) and generally do what I have to if I think it will improve the result. I also mend woodblocks with filler and glue when I get the chance. Lino is not so cooperative to repair, making it swings and roundabouts in terms of touching up prints.
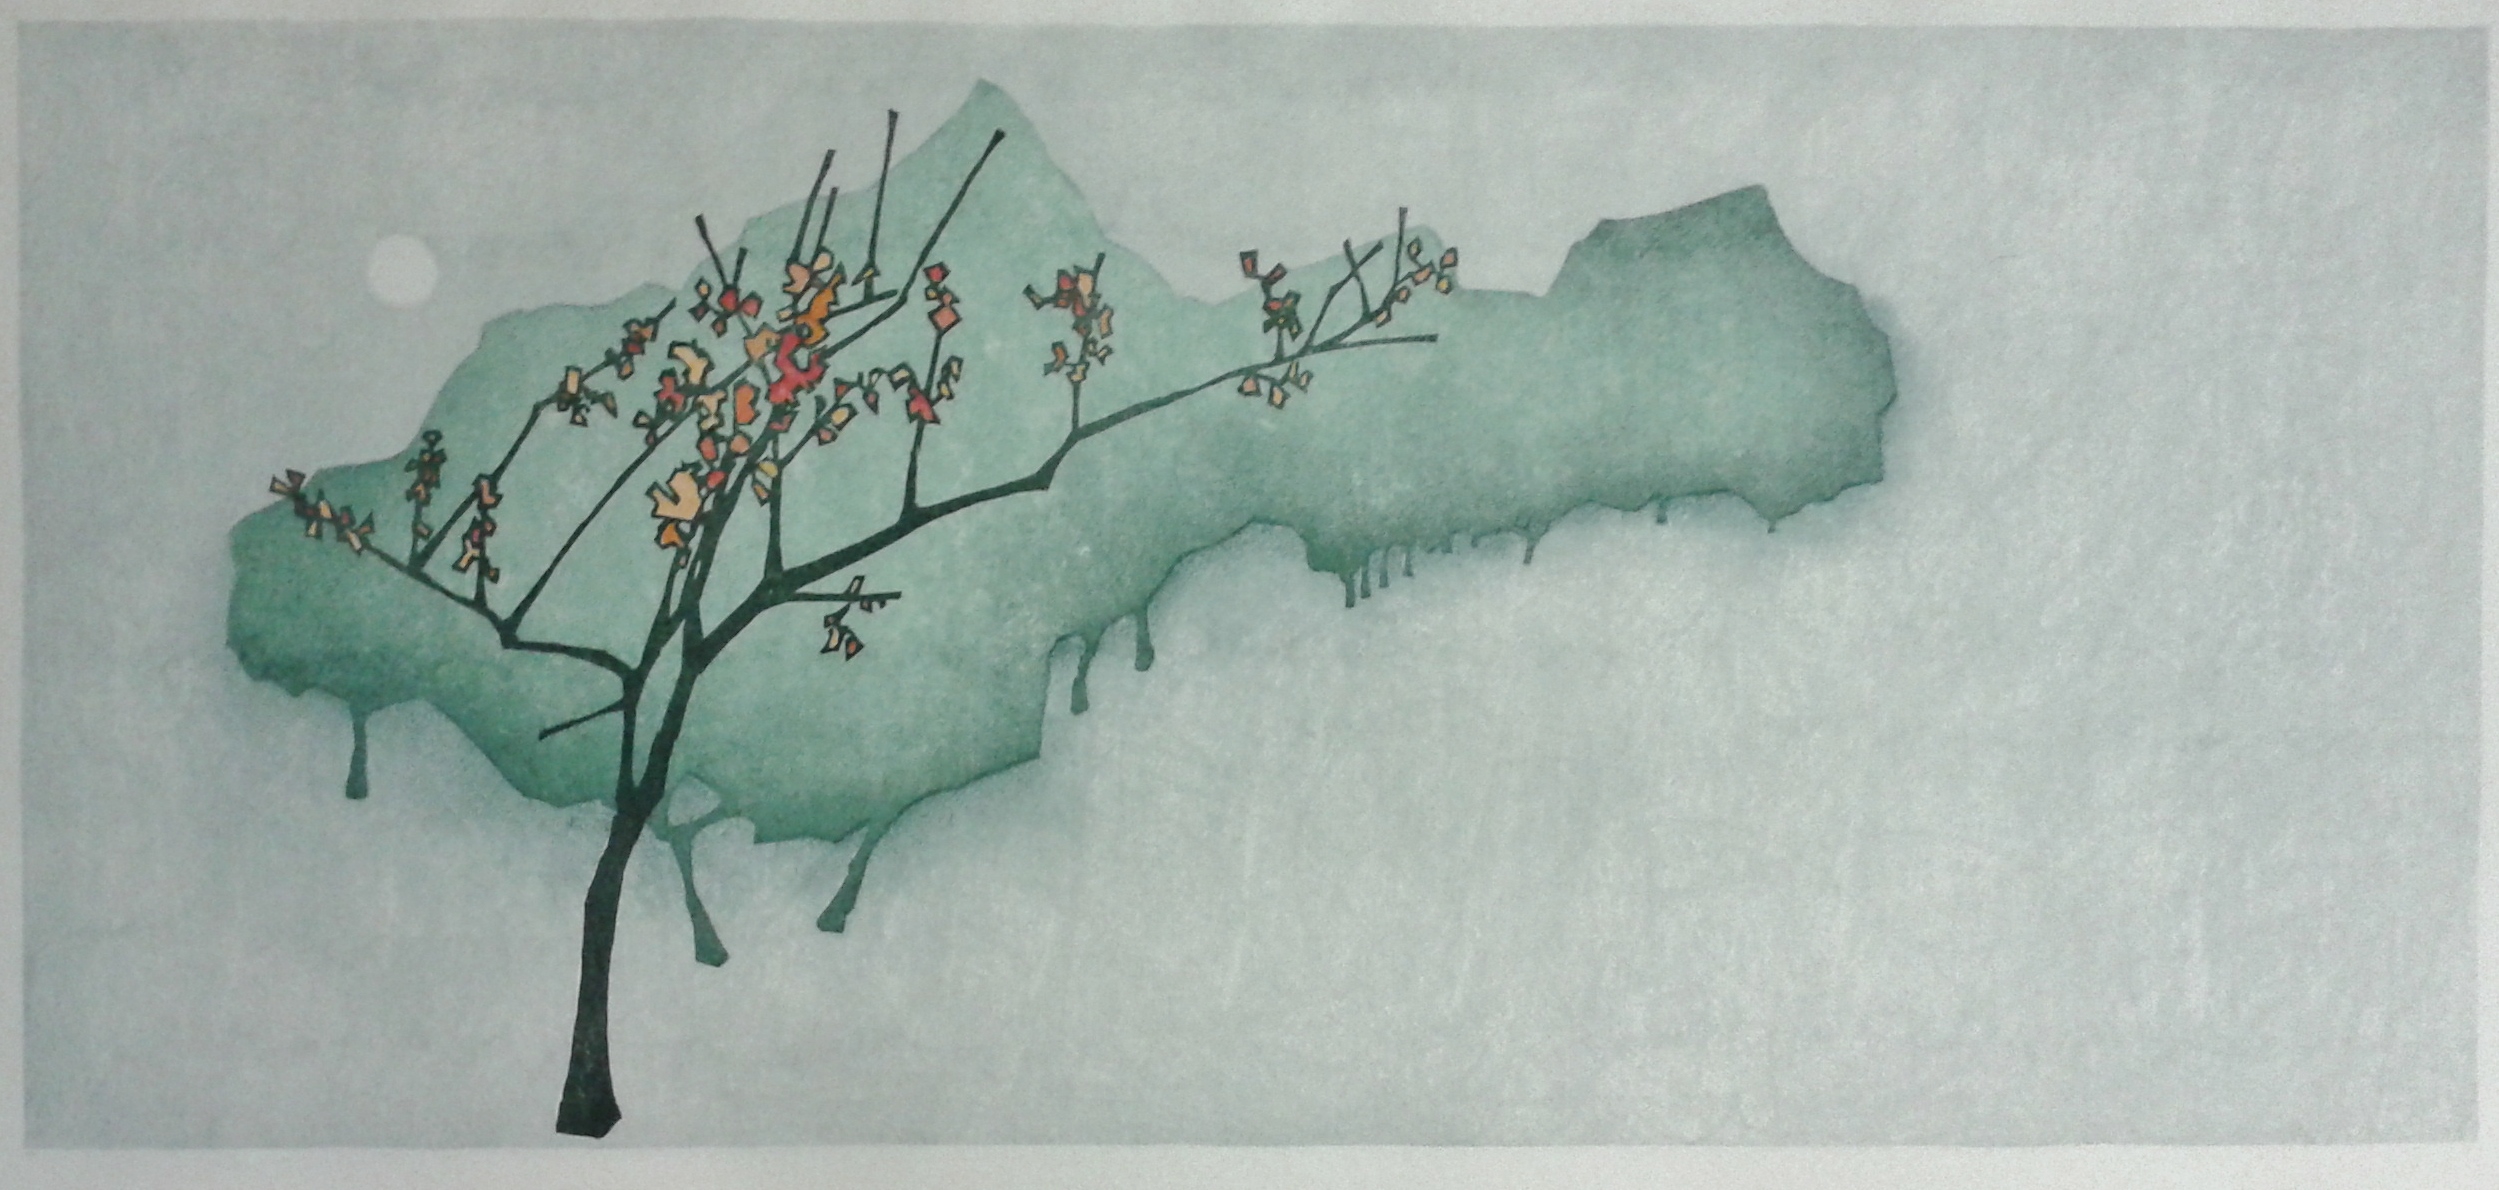
I also hand paint certain parts of prints sometimes and this picture is an example in point. I wanted some of the leaves to have gold on them so I have dropped it in with a brush. I’m OK with that, though purists would argue that a Japanese woodblock should only be printed. Actually, I think the Japanese are great pragmatists: they printed every detail during the Edo period because they were mass printing for a client, not working on personal limited editions. I would hazard a guess they would touch in colour if it was the practical answer.
The conclusion I’m aiming at is that I never feel bad about touching up and corrections and I strongly advise students to make this a practical part of their knowledge. Maybe when I get on in years I will end up in a tent telling people that they are doing it all wrong, but I don’t think that’s likely. I’ll probably still be in my studio breaking the rules myself…
I’m doing a short course in printmaking as part of a uni degree. It’s hard to get it right when there isn’t much time for practise so touching up a few prints for editioning is certainly on my mind! The teacher switches mindsets like a yoyo, one minute he says no way should we be touching up prints after they dry, the next he’s advising I use watercolour to fill a few white spots on my linoprints.
That said, is watercolour the right medium to work with or should I be using the original inks used? Or is there another better way of disguising places where ink hasn’t taken quite right (like in my million intaglio collographs!?)
Any advice would be great, cheers 🙂
I have no problems about touching up prints provided it doesn’t affect their archival properties (if you sell one, it has to be able to be on someone’s wall without deteriorating unnaturally). That said, I tend to touch up as I go along.
lino prints – I am assuming you are using water based inks, but I wouldn’t suggest water colour myself. Use the ink you have used to print with as it is most likely not to show and be best for the print’s durability. If you do it as you go along you can usually fill white spots with a careful tapping with the pad of a fingertip. If there is enough ink on the paper, this will spread it to fill the gap. If not then pat your finger into the rolled out ink and then pat the paper. You need to be careful as too much will show. Try to correct missing spots as they appear as the next layers of ink will not fill the gap (they tend to skip over white spots as these act like little mini ‘cut away’ areas and the ink won’t go down into them). Failing that a fine pointed brush will work. I have even been known to roller ink straight onto the paper print to fill an area that needs it (if it’s a big one).
If the work is finished then I advise the fine brush and patience method with the ink you printed with – taking your time.
Please don’t be too hard on yourself – there is no crime in sorting things out and I have yet to meet the printing police. Also remember that you’ll always see your errors rather than the success of the finished work, whereas everyone else sees the work first, errors second, if at all…
Laura
I am having to learn on my own (due to location and age!) and this is exactly what I needed to know and wanted to hear.
Thank you Laura. I often have to touch up my prints and I also hand paint afterwards. I have felt almost guilty about this practice but you have reassured me that its okay. I love and admire your work and refer to your fantastic reduction printing book often. Maybe one day I will visit Scotland and your printmaking studio. I live on Kangaroo Island South Australia:)